How to Set Up a Stall in homeCafe
Getting started as a seller is easy! Just follow these steps to launch your stall 🚀:
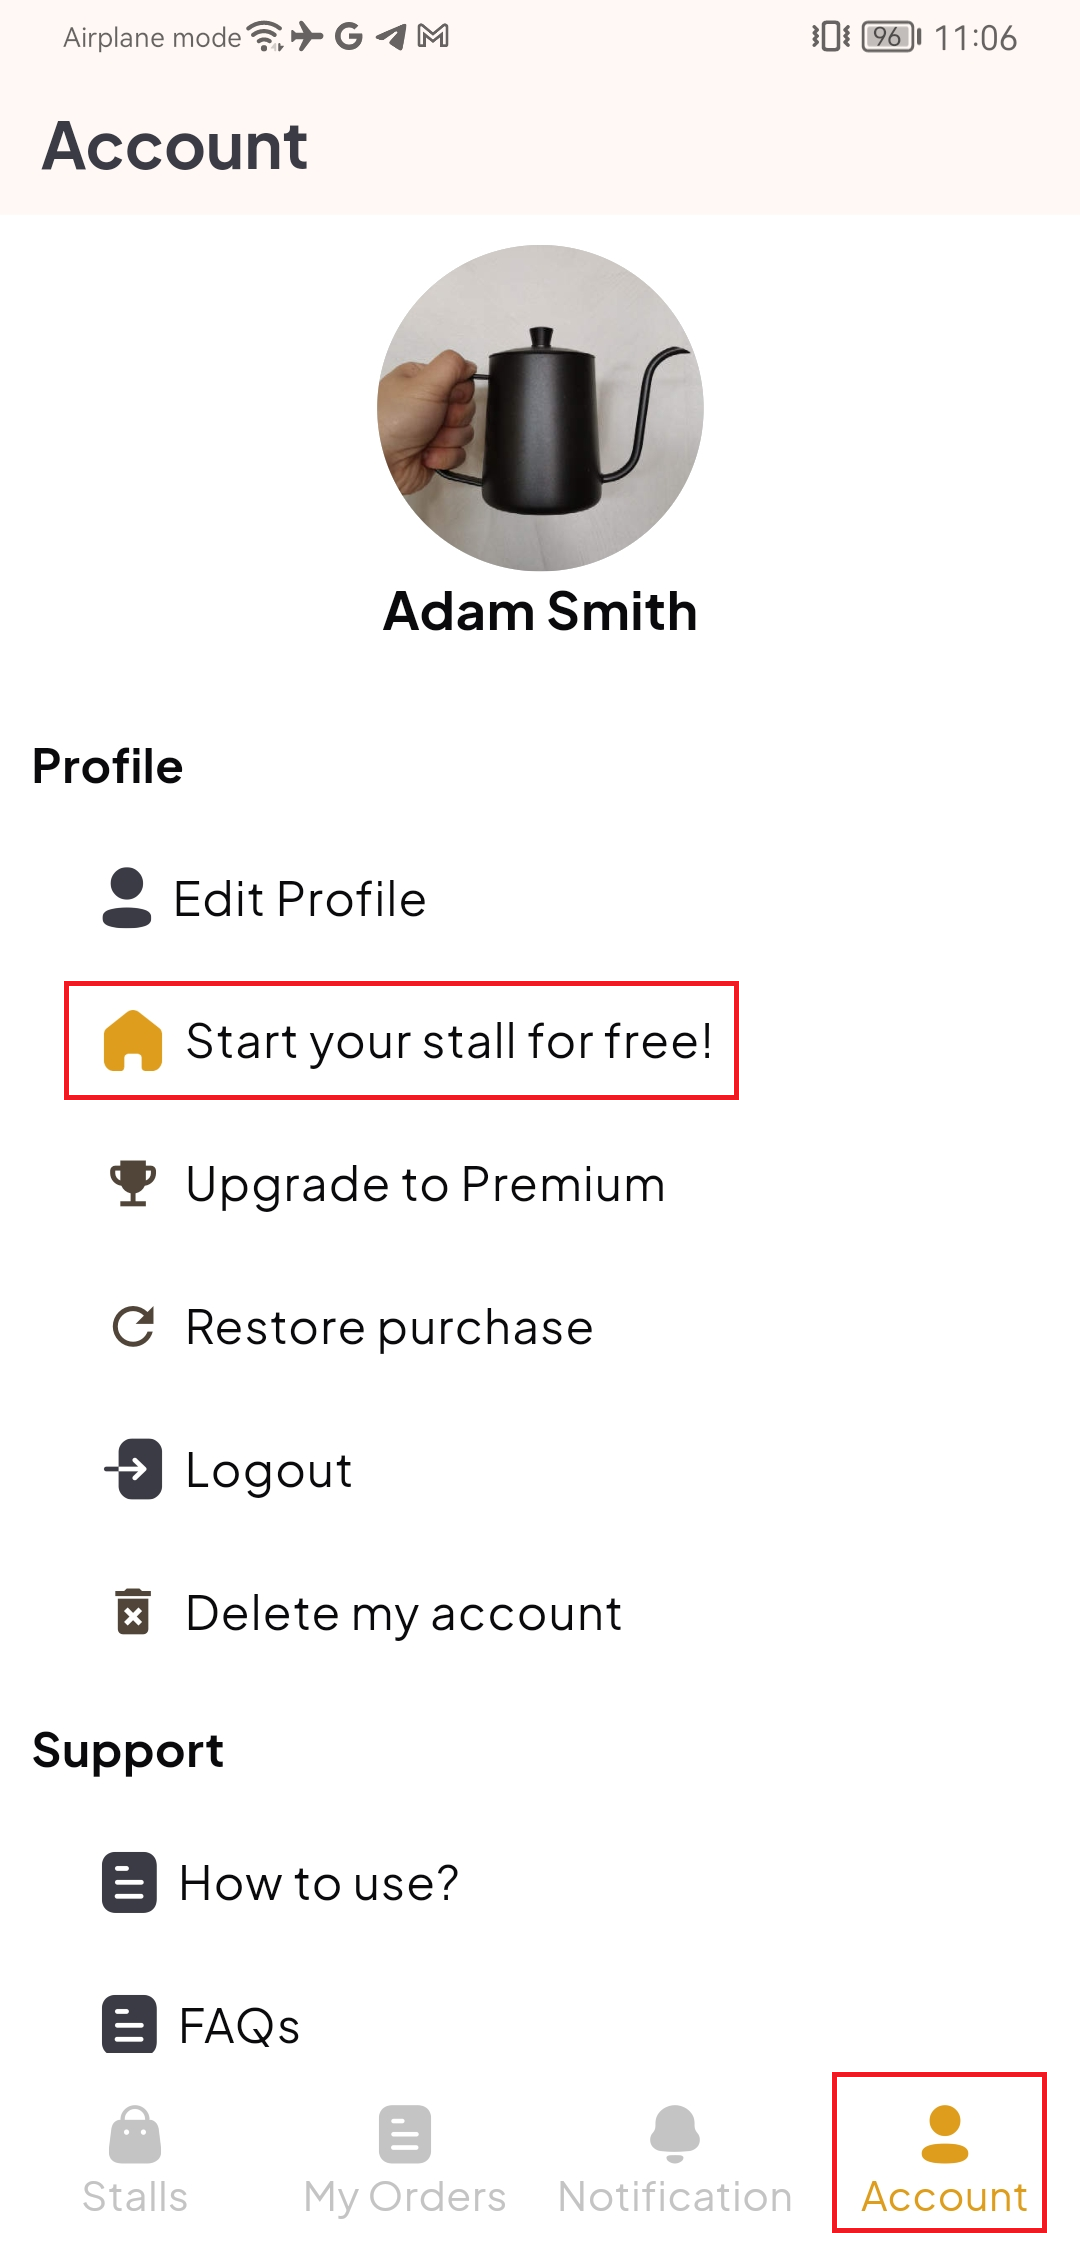
- Go to the Account tab 👤
- Press "Start your stall for free!" 🆓
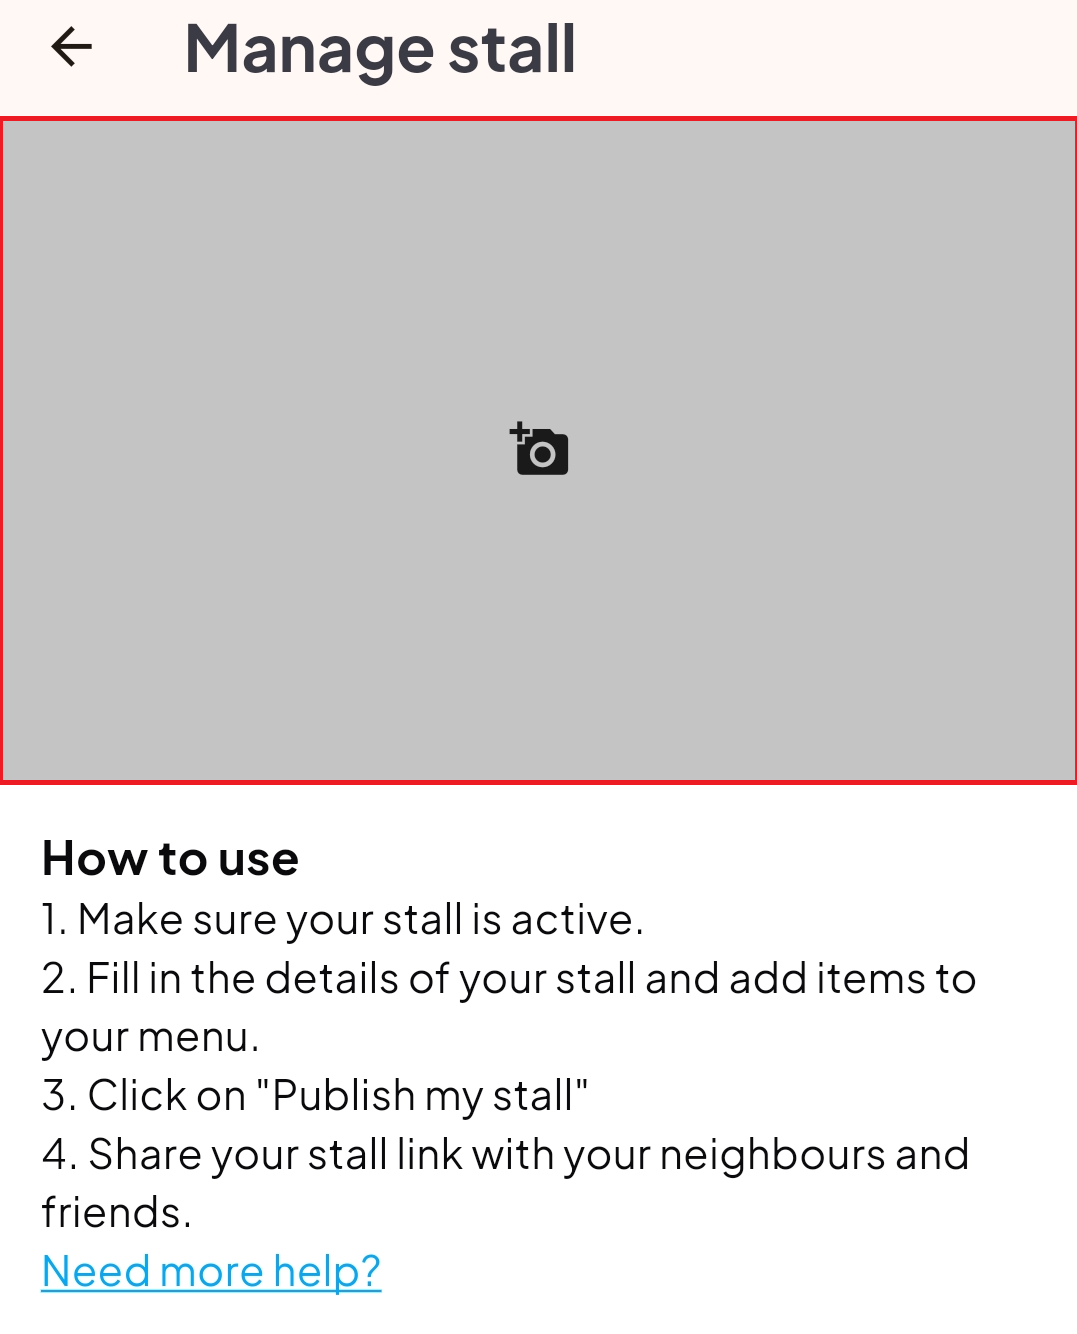
- Insert a cover image for your stall 🖼️
- Fill in the name of your stall and description (optional) 📝
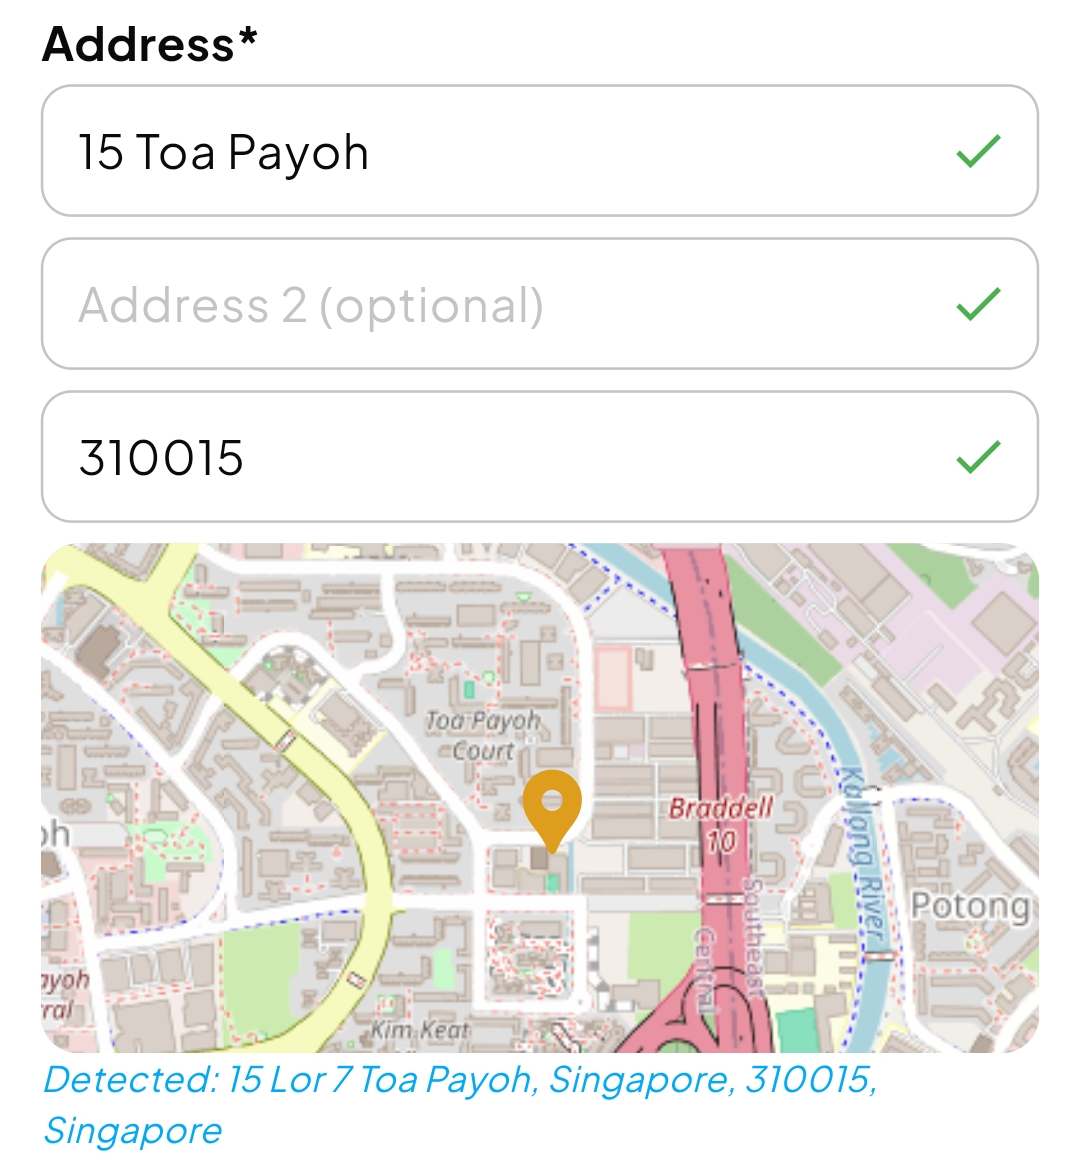
- Insert address. homeCafe automatically attempts to match address and postal code 📍
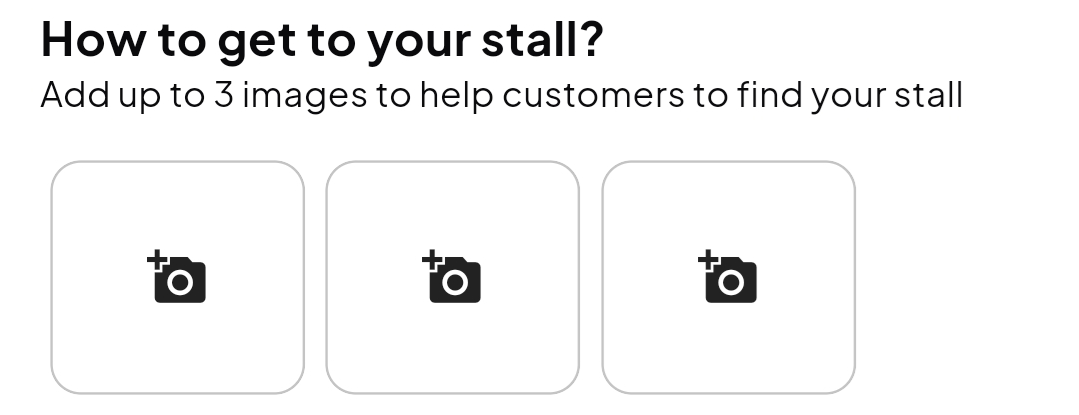
- Upload images on how to get to your stall (important) 🗺️
✨ Many homeCafe businesses struggle with customers finding their cafe. Uploading these images helps users locate your stall easily!
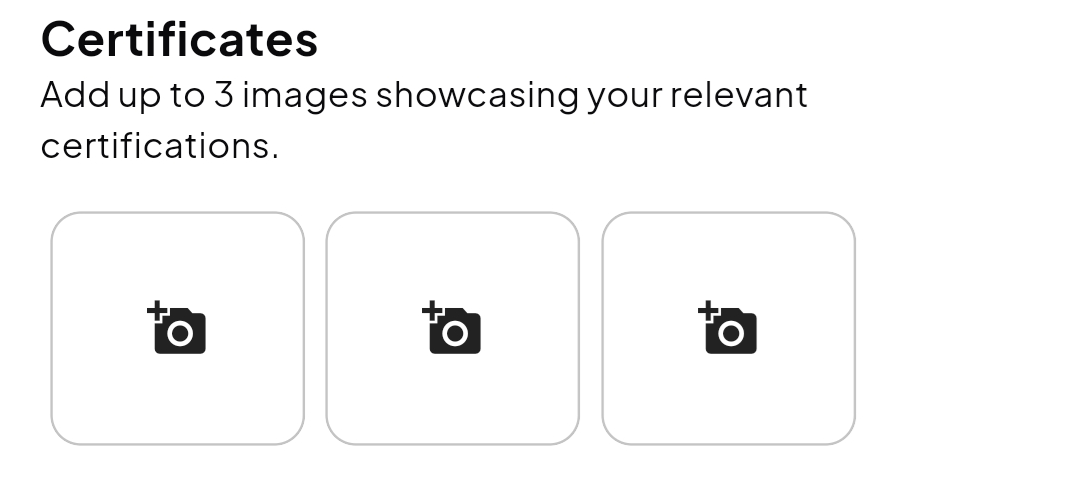
- Upload your certifications / qualifications (optional) 🎓
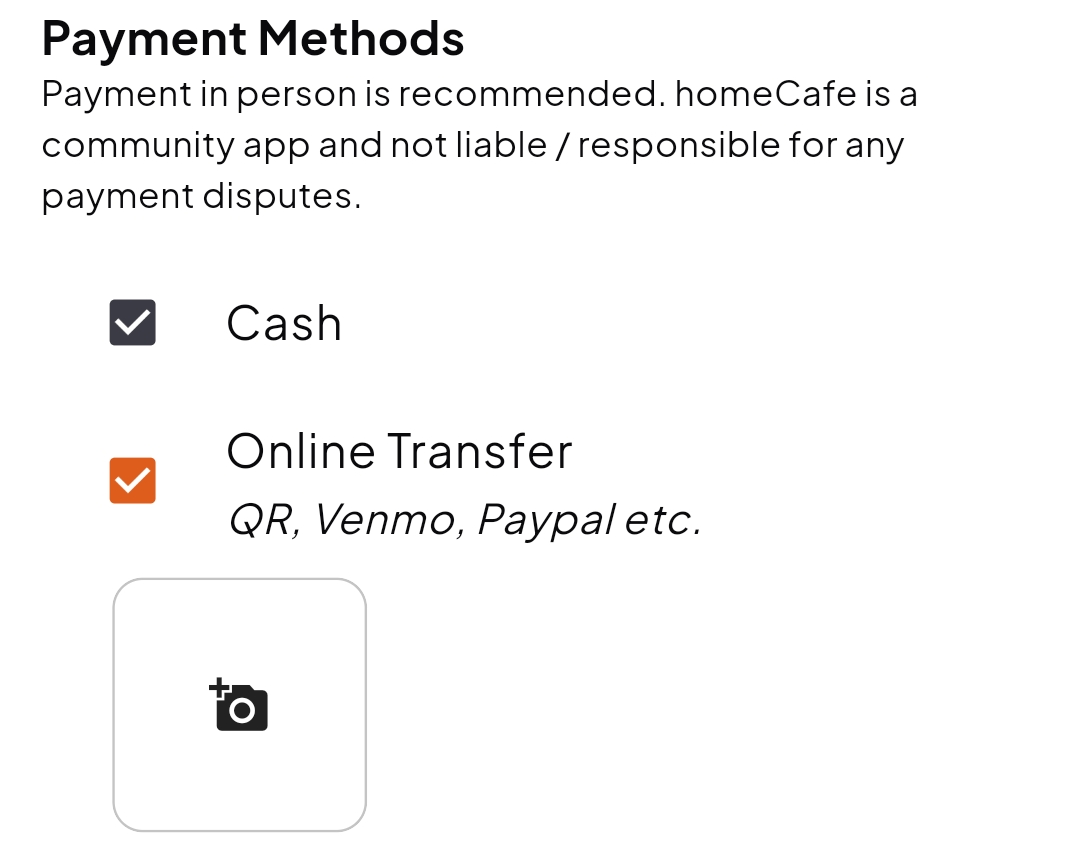
- Set payment methods 💵. homeCafe does not charge anything, so all payments are in cash or transfer (e.g., PayNow, Venmo, etc.). You can allow users to select online transfer and upload an image of your transfer QR code.
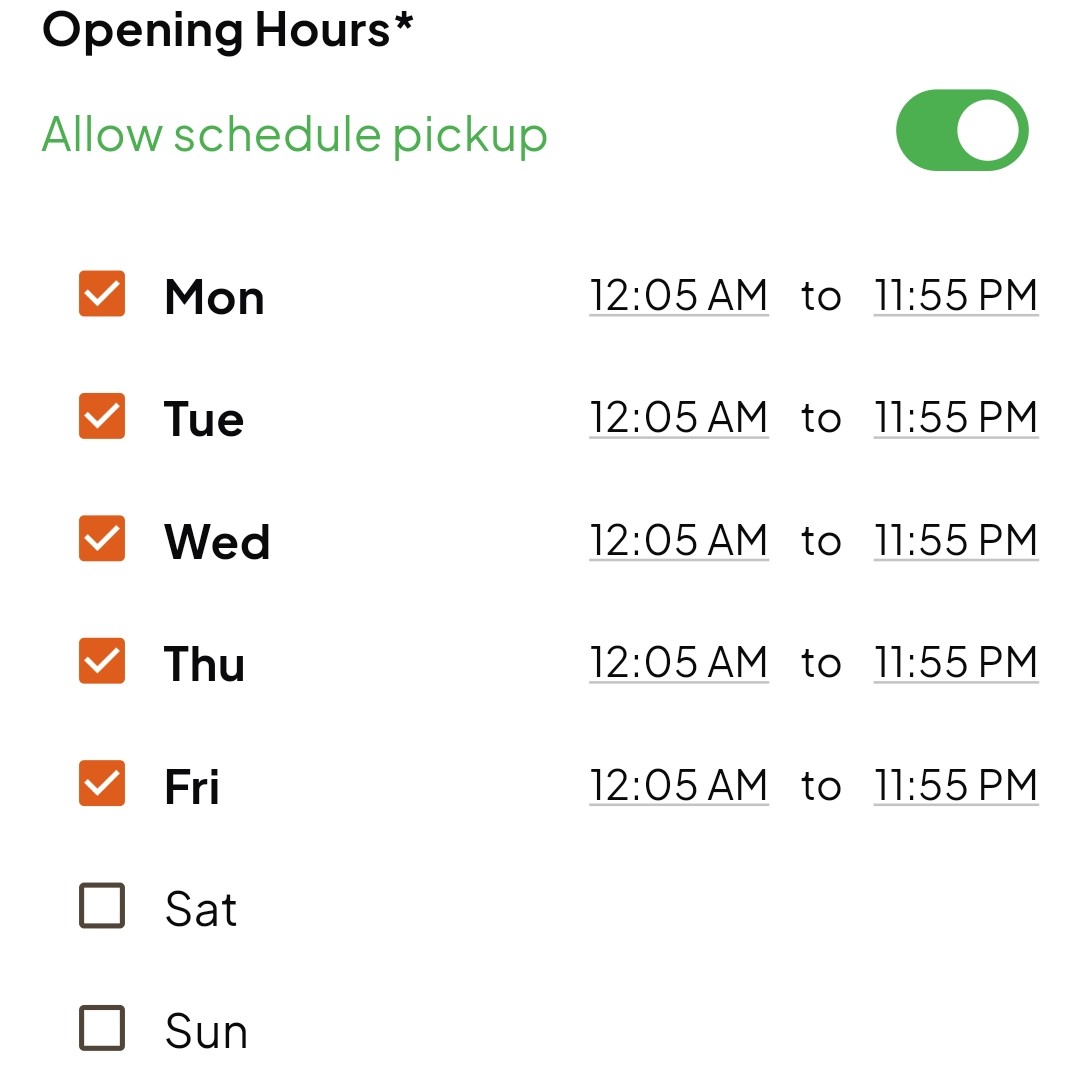
- Set your opening hours and the days you're open 🕒
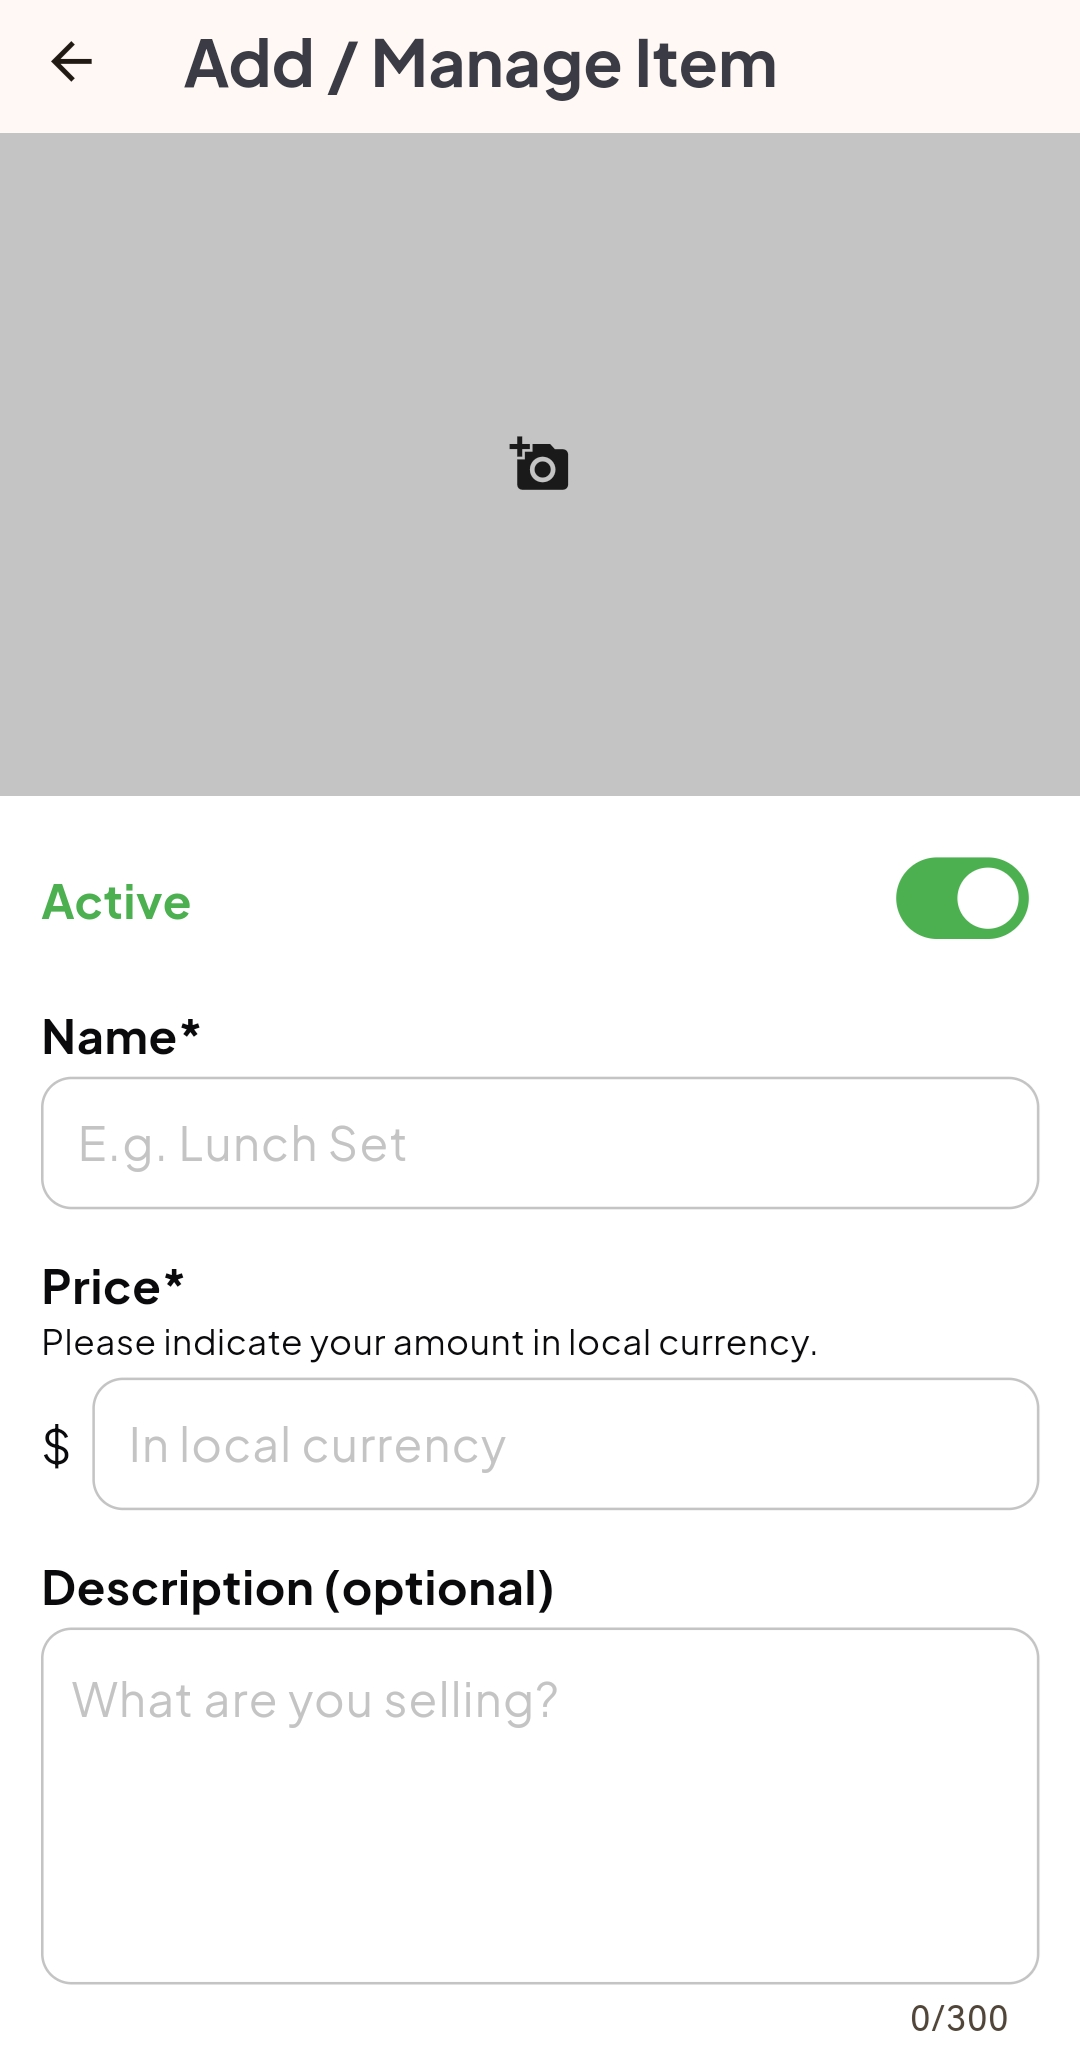
- Add Item (important) 🍽️
-
Upload image 🖼️, name of item 🏷️, price 💲, description (optional) ✏️
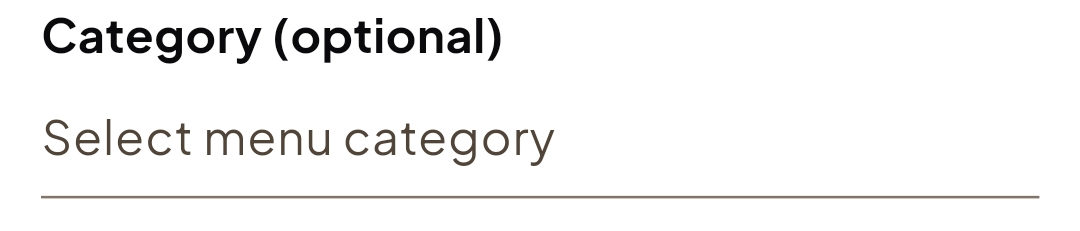
-
Category (e.g., Breakfast, Mains, Drinks, etc.) 📂
Once you've created a category, it will be available for selection or auto-complete for your other dishes!
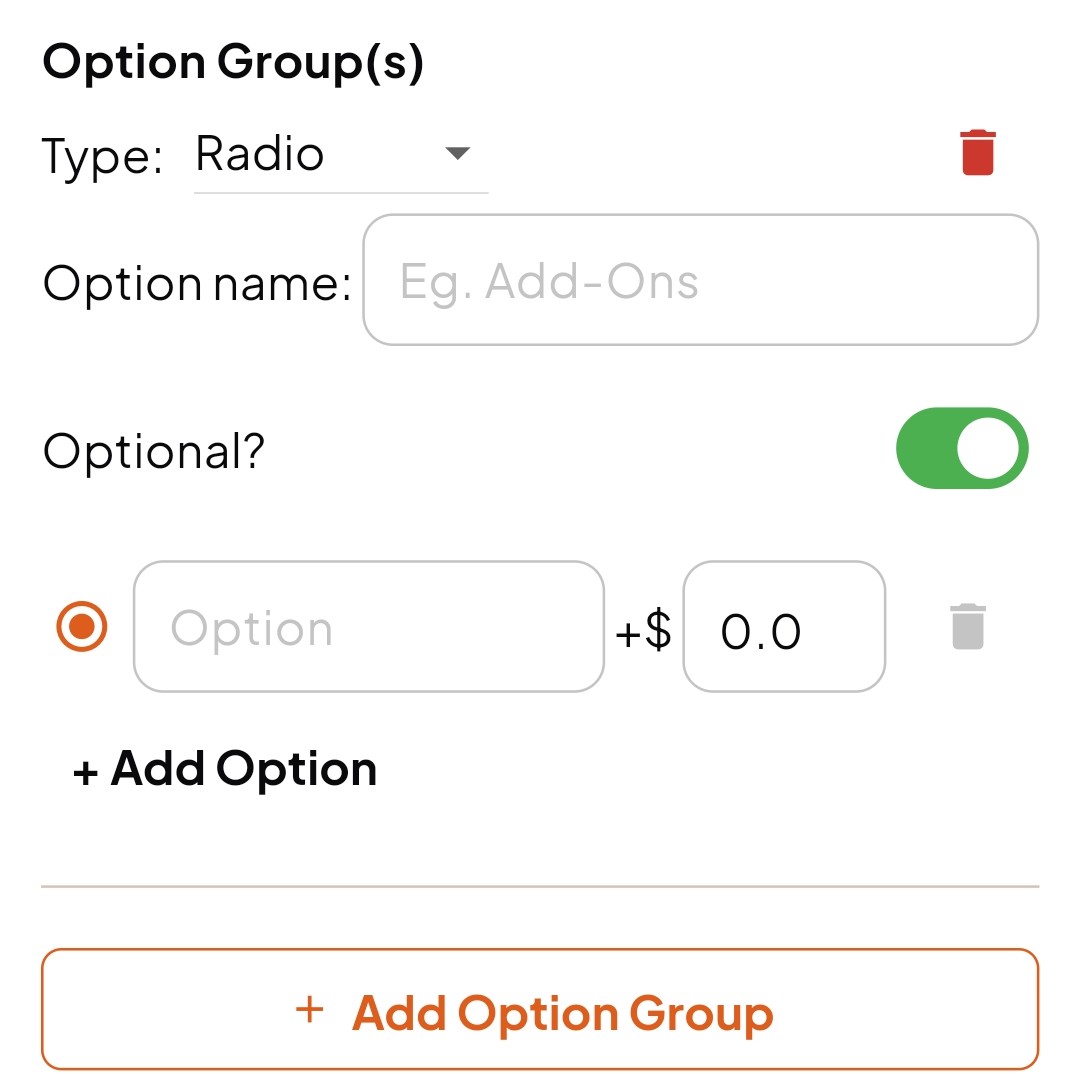
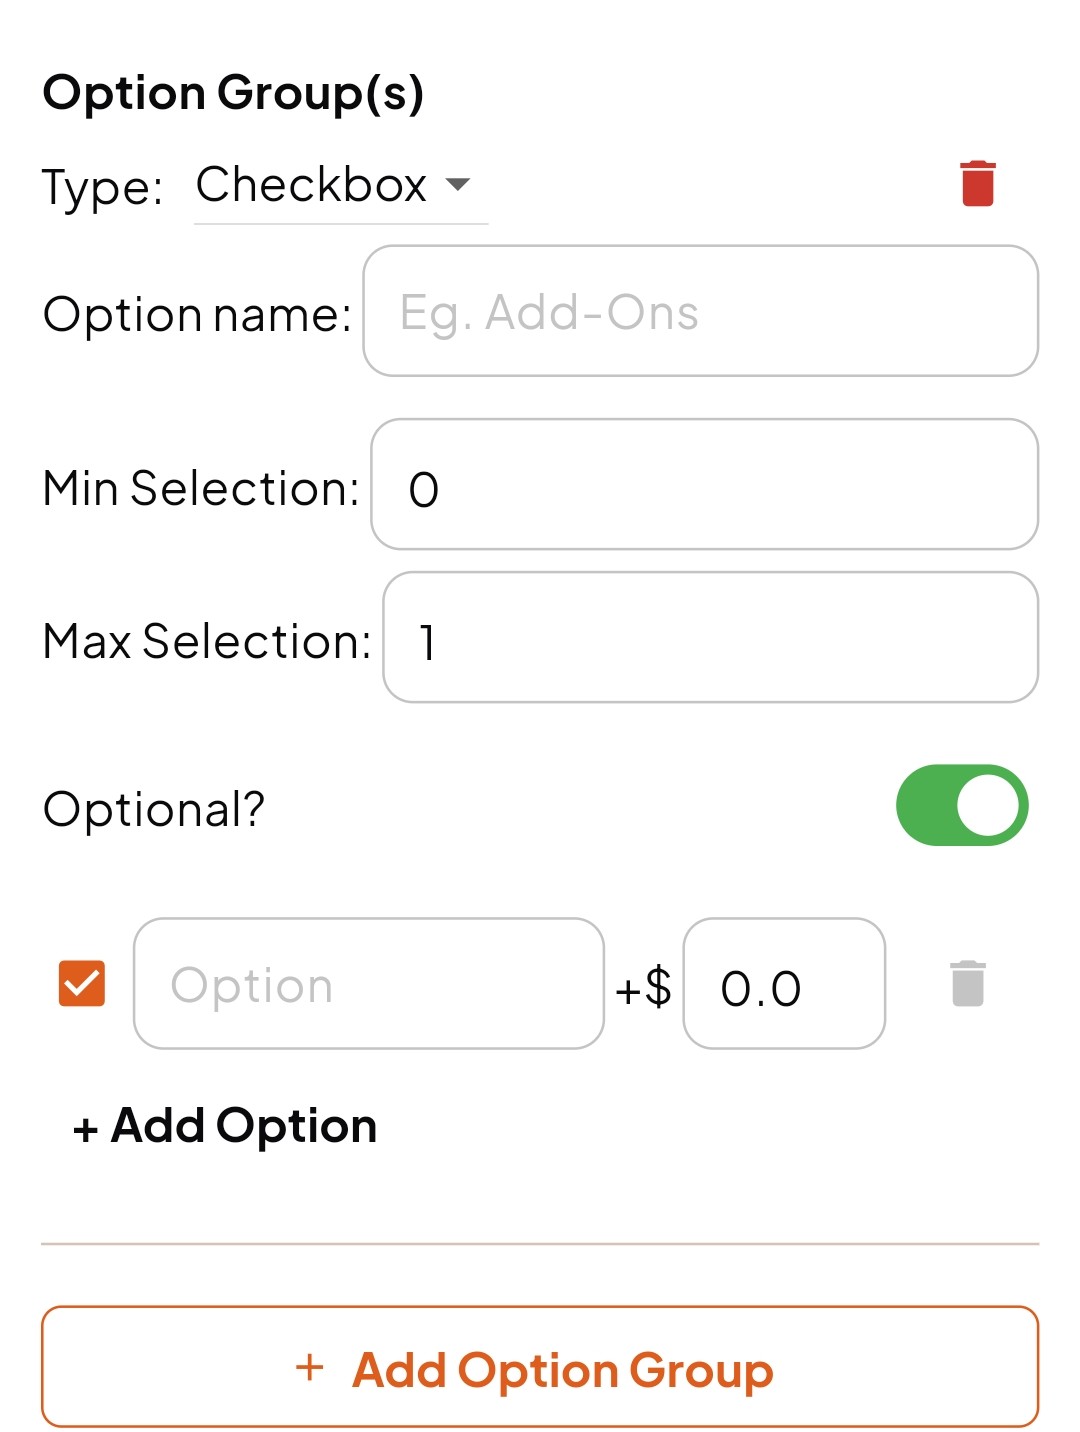
-
Additional Options 📂
If you item have options (eg. Sweetness Level), you can include them here. Buyers will be able to select the options they want
- Click "Add" / "Update" ➕
-
Upload image 🖼️, name of item 🏷️, price 💲, description (optional) ✏️
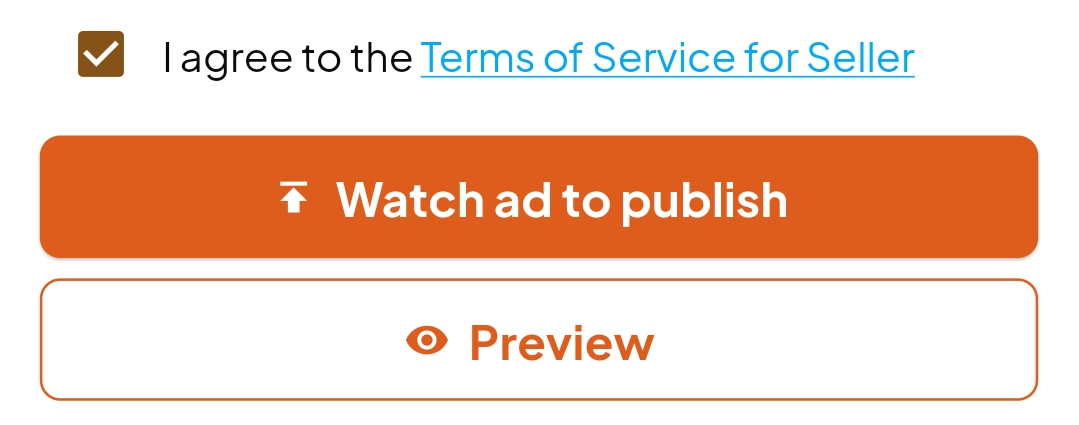
- Once all complete, check "I agree to the Terms of Service for Seller" ✅
- You may first preview your stall via the "Preview" button (isn't it convenient? 😉)
- To publish, click on "Watch ad to publish" / "Publish my stall" 📢